Lesson 2 of 10 · about 3 minutes
Add your menu
Put the dishes you sell into BillDine. Type them one by one, or take photos of your menu card and let BillDine read them.
The POS can only sell what is on your menu. Each item needs a name, a price and whether it is vegetarian, so the bill and the reports come out right.
Step 1: Tap Menu in the main menu, then the Items & categories tile. This page lists everything you sell.
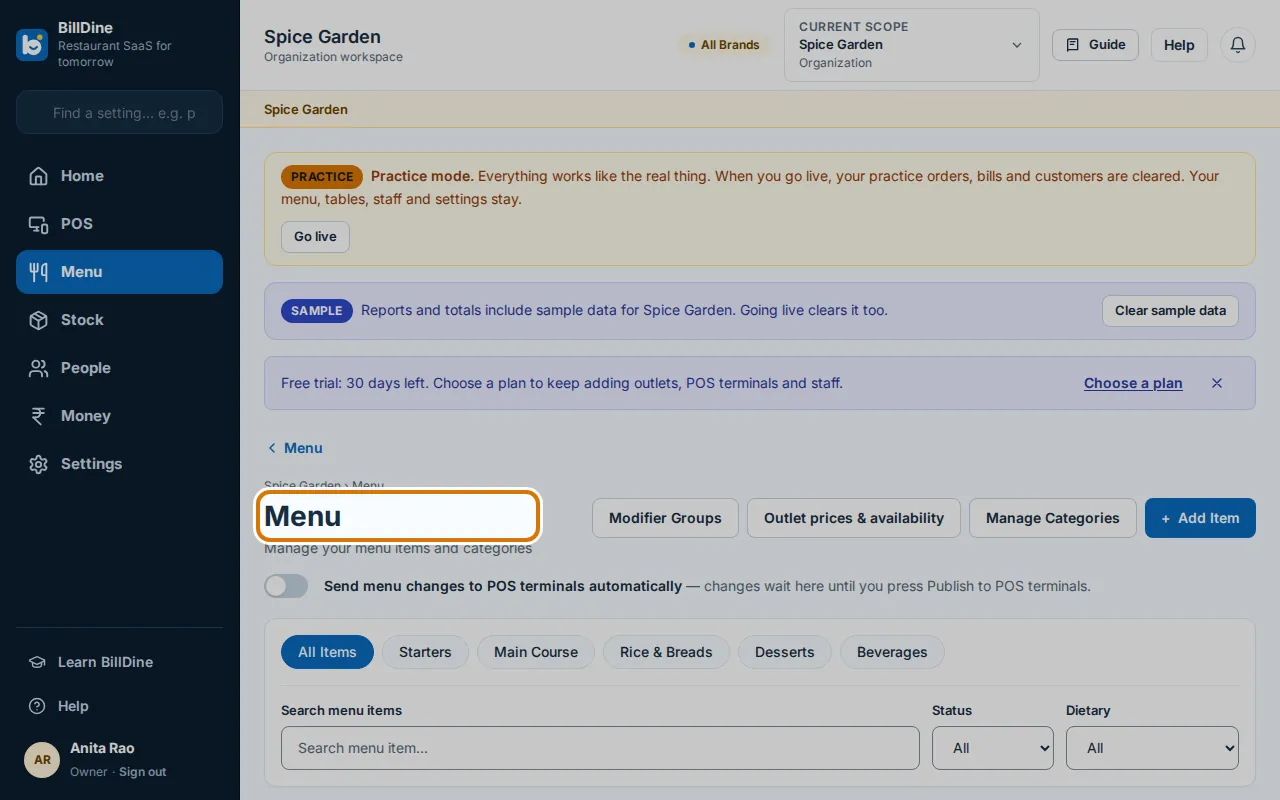
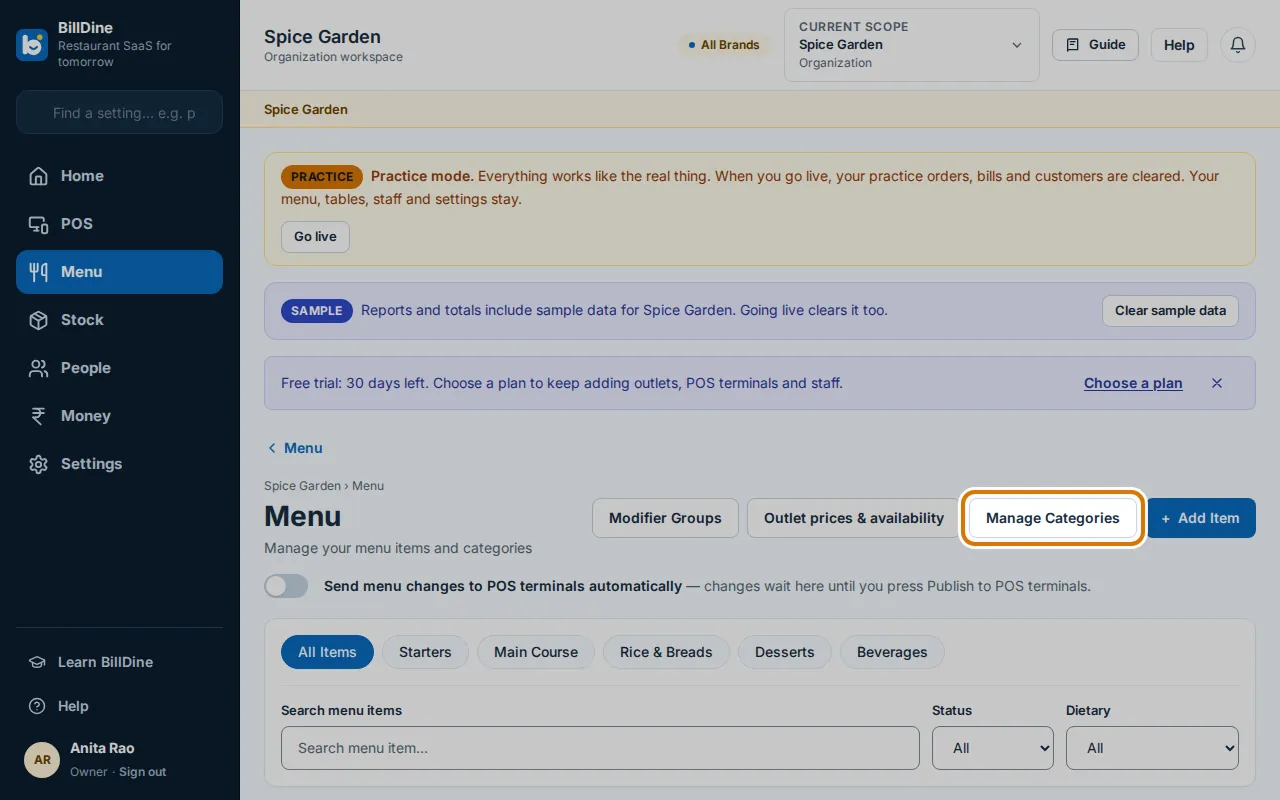
Step 2: Tap Manage Categories. Type a name such as Mains in New category, tap Add category, then tap Done.
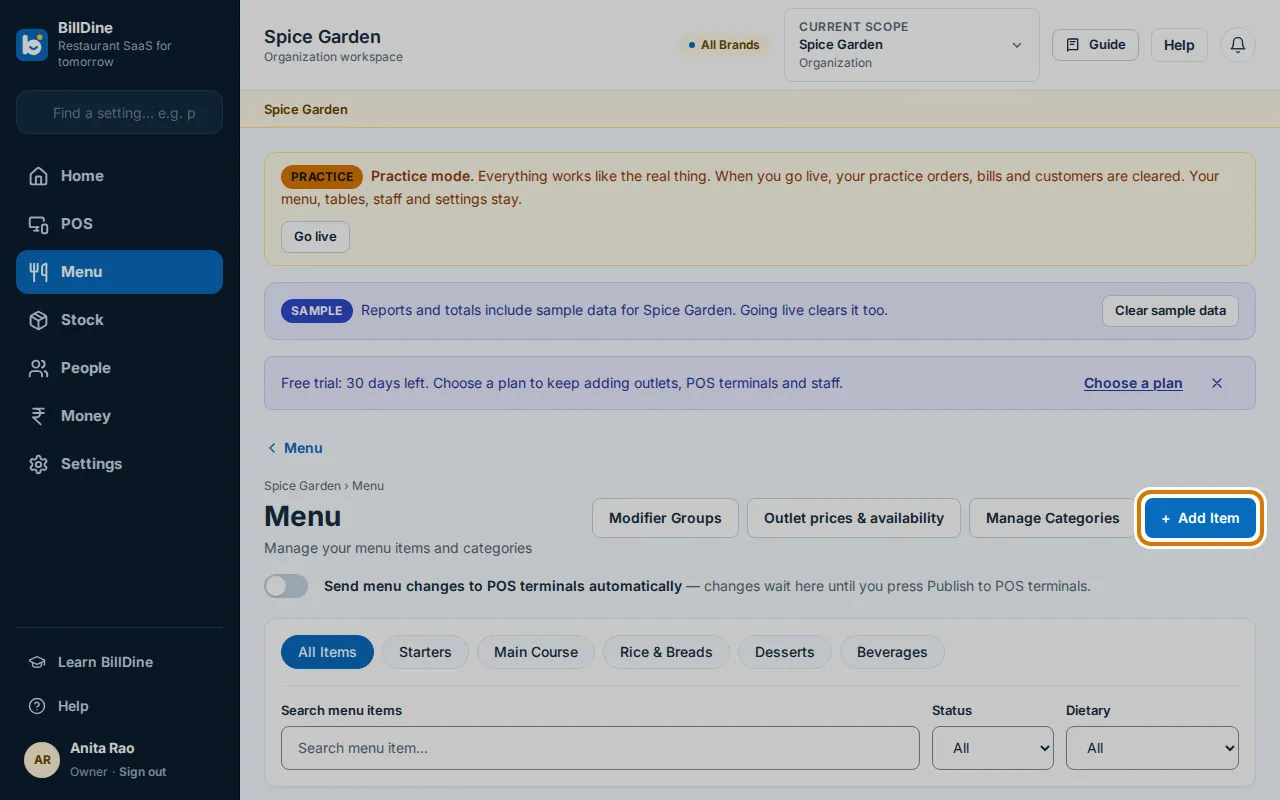
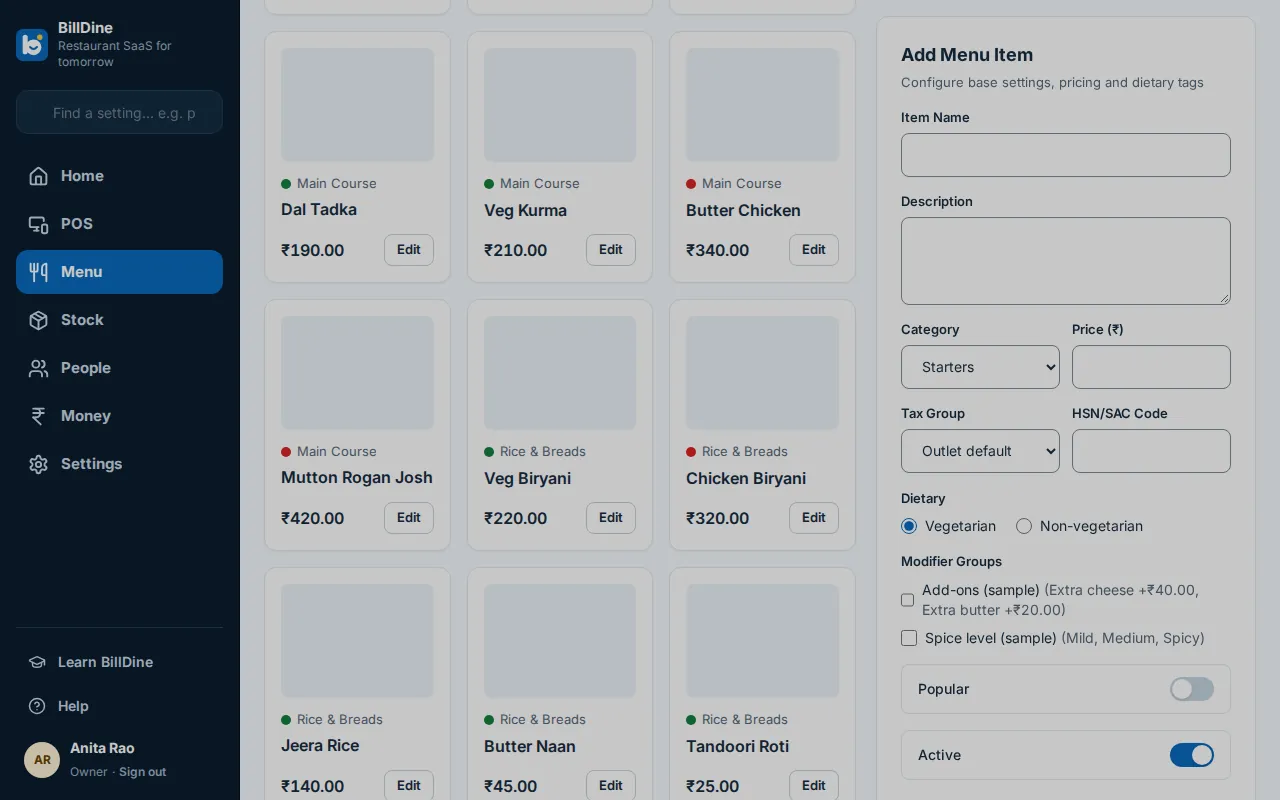
Step 3: Tap Add Item. Type the Item Name, choose its Category and type the Price.
Step 4: Under Dietary, choose Vegetarian or Non-vegetarian. Then tap Save Changes, or Save and add another to type the next dish.
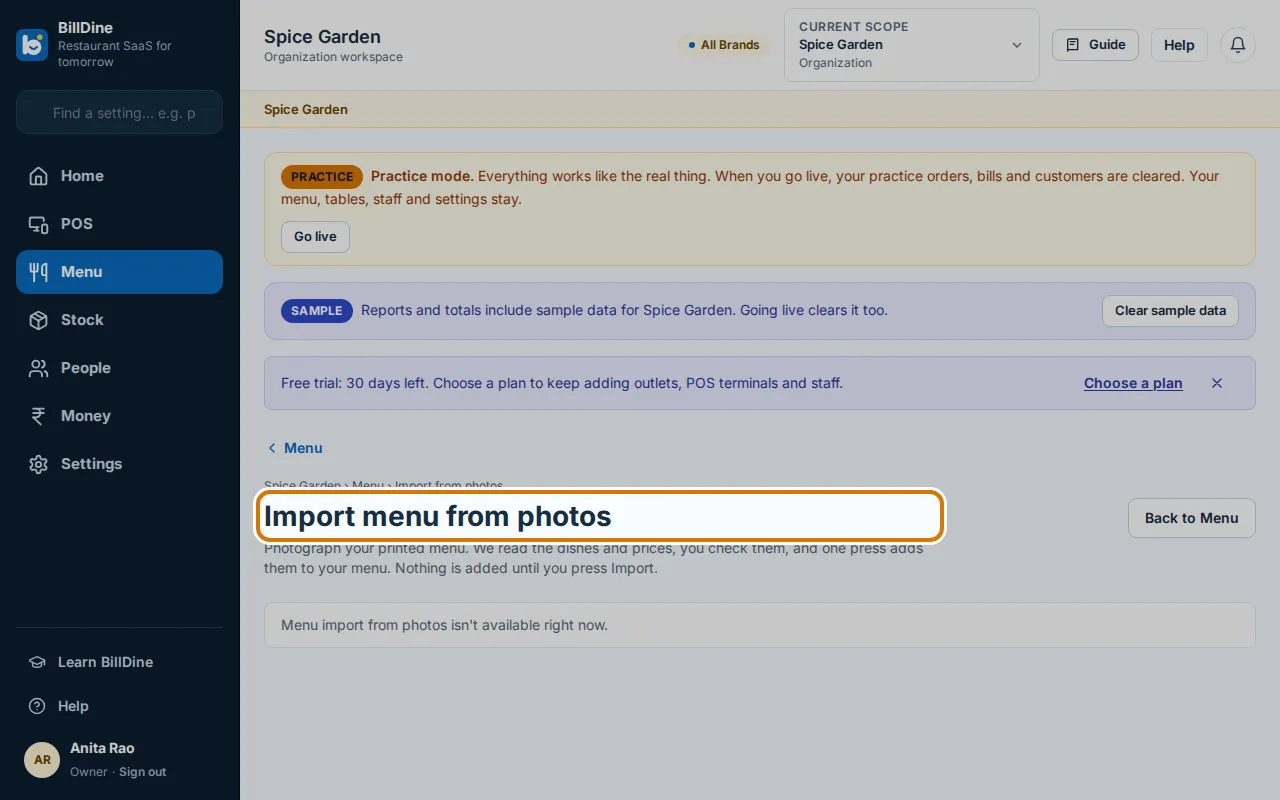
Step 5: To add many items quickly, tap Import menu from photos and add clear photos of your menu card. Check what BillDine read before you import it.
You are done when
Your new item shows on the Menu page with its price, and BillDine says the item was added.
If you get stuck
- You don't see Add Item — Add a category first with Manage Categories. If you still don't see it, ask the owner for permission to change prices.
- Import menu from photos says Available as soon as you subscribe — You are on the free trial. Tap Subscribe to pick a plan, or type your items or use Upload Excel for now.